
Window Repair Process
Progress & Descriptor – Start to Install
Chestnut Hill
1. Close up of jeweled entryway transom. This window had become badly bowed to the point that the most vulnerable glass lites had begun to crack under the force of the window’s own weight. The decision to paint the lead came white is puzzling and likely an esthetic choice.
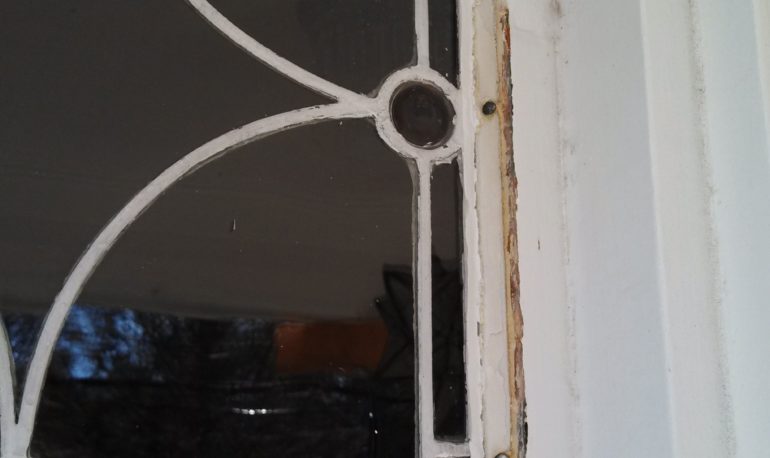
2. As a result of the bowing, some of the lead came had begun to crack and large gaps have developed between the lead and glass lites.
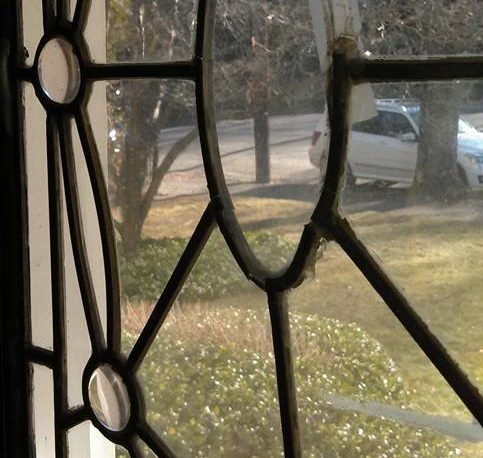
3. This window “rattled”, when struck, a clear indication that the window’s “cement” had long ago succumbed to the elements and washed away. Note the Scotch Tape holding the oval lite in place.


4. Before removing the worn-out lead, a “rubbing” is done so there will be a template of the window’s design to work from.
5. Absent the lead came, I’ve placed the individual pieces of cut glass on top of the “rubbing”. This is a good time to inspect the glass pieces for scratches, a poor fit or a poor color match.

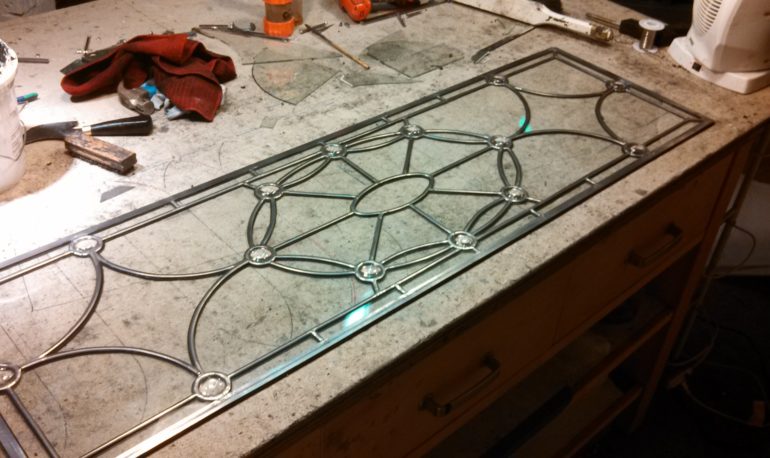
6. With all the positioning correct, re-leading can begin. Here I’m using ¼” Rounded “H” came.
7. Moving left to right, the re-leading continues.


8. Solder is melted to join the lead came at every intersecting point.
9. Once fully rebuilt the window panel is “cemented”. This is a process whereby “stained glass putty”, a mixture of calcium carbonate/whiting, linseed oil and stove black is forced under all the lead came. Doing this adds strength and rigidity to the window. As the putty cures it binds the lead came securely to the glass, making it impenetrable to wind and rain.
10. Looking Good
11. Fini.